How to Setup a Web Server Using Docker

Let's see how we can build a web server image which can be used to build containers.
1. Installing Docker
Firstly, we need to install Docker.
A, Instructions for Windows Users
There are needed requirements to install Docker Desktop:
- Windows 10, version 1903 or higher
- 64 bit processor
- 4GB system RAM
- BIOS-level hardware virtualization support must be enabled in the BIOS settings
- Linux kernel update package is installed
- WSL 2 feature is enabled
If all requirements are met, we can download Docker Desktop Installer.exe from Docker Hub. After that, we need to just double-click on the file to run the installer. It is highly important that we ensure the Enable WSL 2 Features option is selected on the Configuration page. By following the instructions given by the installation wizard, we can proceed with the install.
Docker Desktop does not run automatically after we installed it. To start the program, we need to search for it on our computer.
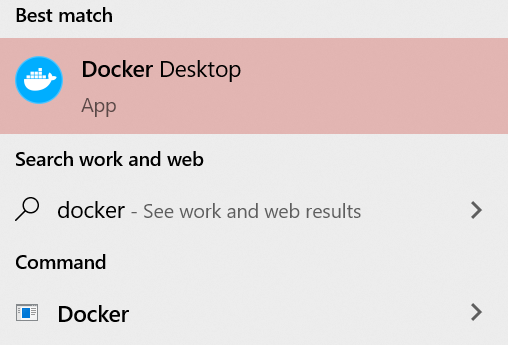
Docker is running when the whale icon appears on the taskbar; we can access it from any terminal now.

B, Instructions for MAC Users
Needed requirements to install Docker Desktop:
- macOS must be version 10.14 or newer (Mojave, Catalina, or Big Sur)
- At least 4 GB of RAM
- VirtualBox prior to version 4.3.30 must not be installed as it is not compatible with Docker Desktop
Installing Docker on macOS is just as easy as on Windows. We need to double-click on Docker.dmg, then drag the Docker icon to our Applications folder.
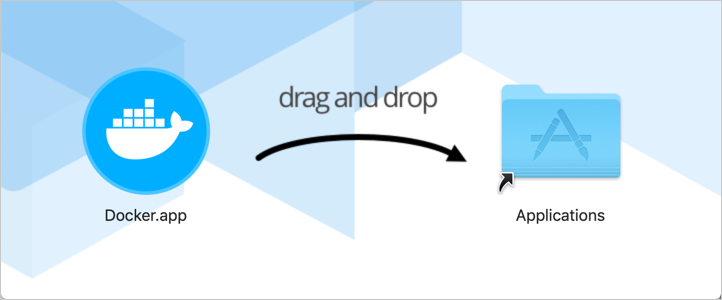
via Docker Documentation
After dragging it, we just need to double-click on Docker.app in the Applications folder to start the program the first time.

via Docker Documentation
When we notice the whale icon in the top status bar, it shows that Docker Desktop is up and running.

via Docker Documentation
2. Pulling an Ubuntu Image from Docker Hub
We go to Docker Hub, and we search for an Ubuntu image.
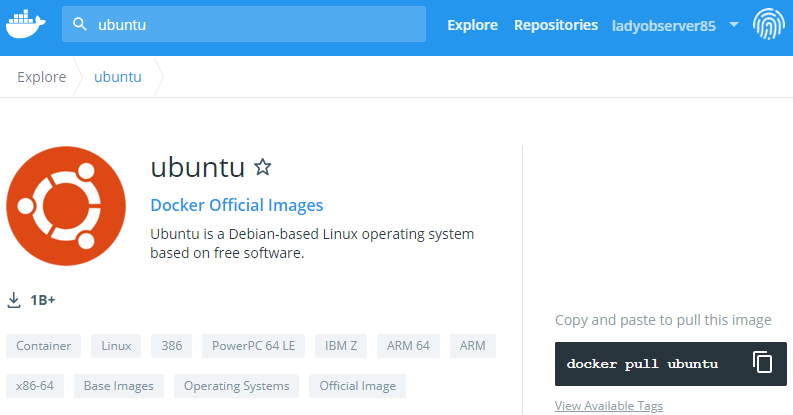
via Docker Hub
We copy the given command: docker pull ubuntu, then we paste it to any terminal. The command
runs like this.
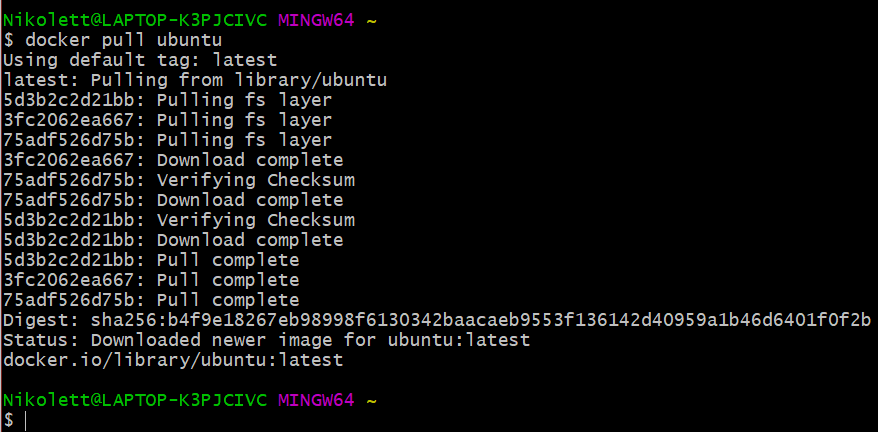
We can check whether the Ubuntu image is located on our computer. To do that, we can use docker
images command.
3. Installing Vim and Apache 2
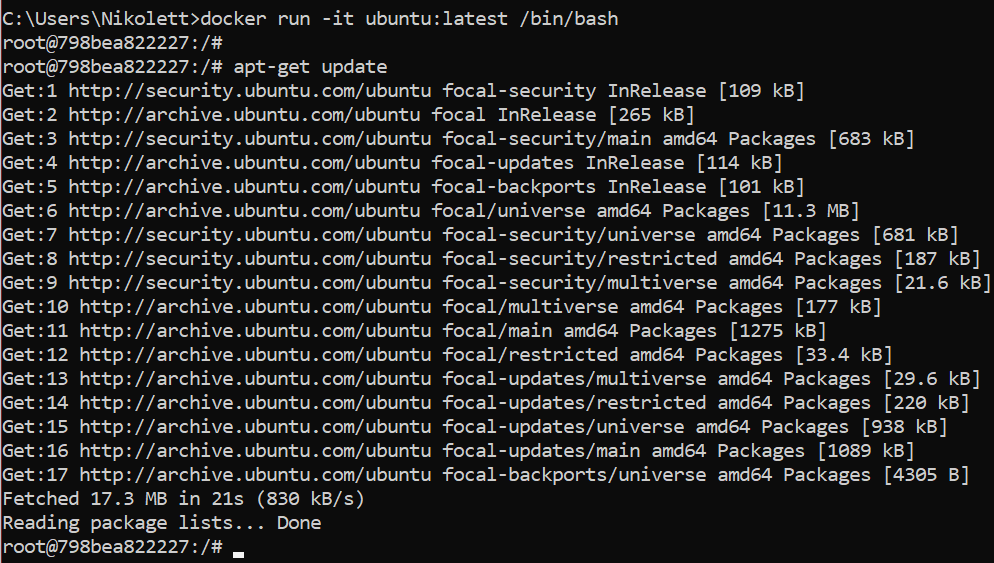
To install the programs, we need to log in our Ubuntu in Docker container. We use the
following command to do that: docker run -it ubuntu:latest /bin/bash.
After doing that, we need to run the apt-get update command to update all the packages.

After updating, we can start installing Apache 2 on our image. We use the apt-get
install
apache2 command.
Now, we can install Vim text editor using the apt-get install vim command.

After installing Apache 2 and Vim, we can exit Ubuntu container using the exit command. Our
next task is to commit the container to create a new Docker image. Firstly, we check the container using
the docker ps -a command. Secondly, we create a new Docker image using the
docker commit <container ID> <new Docker image name> command.
Lastly, we check the new image using the docker images command.
All three steps are visible in the following image.

4. How to Share a Directory Between Docker and Host
The Docker container does not save any data after we close it. If we want to read and save any data in
the host, a shared directory is needed for Docker containers. To solve this problem, we
use docker run -it -p 127.0.0.1:80:80 -v <directory of the host computer>:/var/www/html
<Docker image name> /bin/bash command.

5. Using Vi to Create and Edit Index.html in the Shared Directory
We check the present working directory using pwd command. After checking it, we go to the
directory that will have the html file. To do that, we type cd /var/www/html command into
the terminal. The image above shows these steps.
When we are in the correct directory, we can finally create the index.html file using
vi index.html command. Pressing “i” key, we can begin editing the newly
created file; we put our code here.
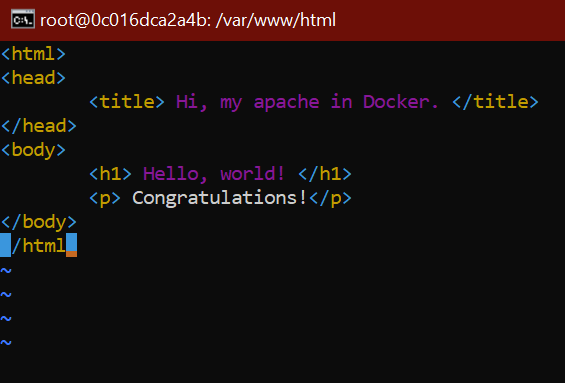
When we are done with editing, we press the “ESC” key, then we type :wq
command to save the file and quit Vi.
6. How to Use Docker to Host a Website
To host our website, we need to start Apache 2 service using /etc/init.d/apache2 restart
command.

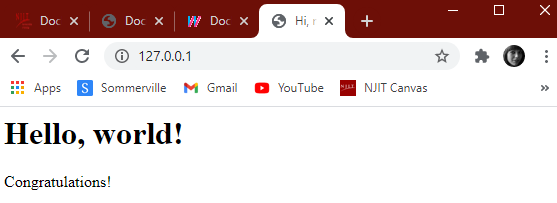
After this step, we can see our website by typing 127.0.0.1 into the address bar of our browser.
